


How to Plan a Full-Home Renovation in Manhattan: Layout, Flow & Design Decisions
Renovating one room is a design project. A full-home renovation is a planning project. The kitchen, bathrooms, bedrooms and living areas all compete for the same square footage, plumbing lines and budget, and a decision in one room often changes what is possible in the next.
This guide walks through the decisions that matter most when you plan a Manhattan home as one connected design: what to settle first, how to make rooms work together, and how your building type shapes the plan.
Key takeaways
- Plan the layout first. Room positions, openings and kitchen and bathroom locations are the hardest things to change once construction starts.
- Keep wet rooms near existing plumbing where you can. Moving kitchens and bathrooms affects waste lines, venting, building approvals and budget.
- Choose one material palette for the whole home: a main floor, one or two cabinetry finishes and one metal finish, repeated room to room.
- Your building type shapes the plan. Prewar apartments, co-ops, condos and townhouses each come with their own constraints and approvals.
- Make decisions in order: brief, existing conditions, layout, systems, materials, then furniture.
Why a Whole-Home Plan Is Different
A whole-home plan lets you change the layout itself, not just the finishes, but it also means more decisions to get in the right order. When rooms are renovated one at a time, each project is designed around the room as it is. When the whole apartment is planned together, you can move the boundaries between rooms, borrow space from one area for another and choose materials that carry through the home.
That freedom comes with more decisions. The order in which you make them matters, because some choices are expensive to change once construction starts and others can wait until much later.
Step 1: Decide What the Home Needs to Do
Start with a short, ranked list of the problems the renovation must solve, before you look at a single finish. A clear brief makes every later decision easier.
Ask yourself:
- Who lives here now, and who might in five or ten years?
- Where do you cook, eat, work and relax, and do those areas get in each other’s way?
- Which rooms feel cramped, dark or underused?
- Is space lost to long hallways, awkward corners or oversized rooms you rarely use?
- What do you need to store, and where does it end up today?
Keep the list short and ranked. The goal is to know which problems the renovation must solve and which improvements are nice to have.
Step 2: Settle the Layout Before Anything Else
The layout is the hardest decision to change later, so it comes first. In Manhattan apartments, a small move such as shifting a doorway, widening an opening between the kitchen and living room, or turning a closet into a pantry can change how the whole home feels without adding square footage.
Open or defined spaces?
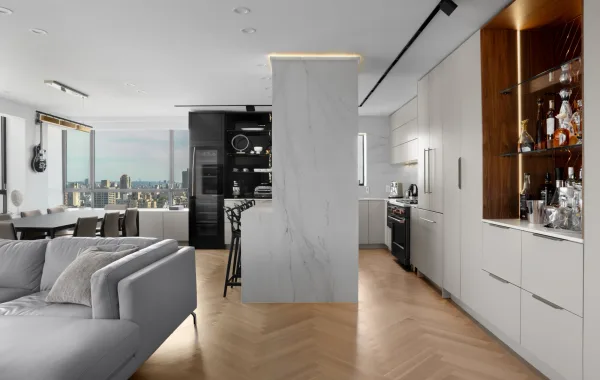
An open-concept kitchen can make an apartment feel larger and brighter, but it also carries cooking noise and smells into the living space and leaves fewer walls for storage. A partly open plan is a common middle ground: a peninsula, a glass partition or a run of tall cabinetry that separates zones without closing them off. Even a narrow galley kitchen can sometimes be opened up this way, depending on what the wall contains.
Check walls before you plan around removing them
A wall may hide plumbing, electrical lines or structure, and in many buildings the location of wet rooms is restricted. Have the existing conditions assessed before the layout is final, so the design is based on what is actually behind the walls.
Plan wet rooms around the plumbing
Kitchens and bathrooms are tied to risers, waste lines and venting. Keeping them close to their current locations usually makes approvals simpler and the budget more predictable. Moving a bathroom means rerouting those waste lines and vents, so confirm what is possible before you commit to the plan.
Step 3: Make the Rooms Work Together
Design each room in detail only after the layout is set, and judge every room both on its own and as part of the whole home.
Kitchen
The kitchen is usually the most complex room, and in an open plan it is also part of the living space. Plan the kitchen remodel with the adjoining rooms in mind, so the cabinetry, countertops and lighting suit the living and dining areas too. The right layout depends on the footprint, and the best kitchen layouts for NYC apartments range from galley and L-shaped to U-shaped and open plans.
Bathrooms
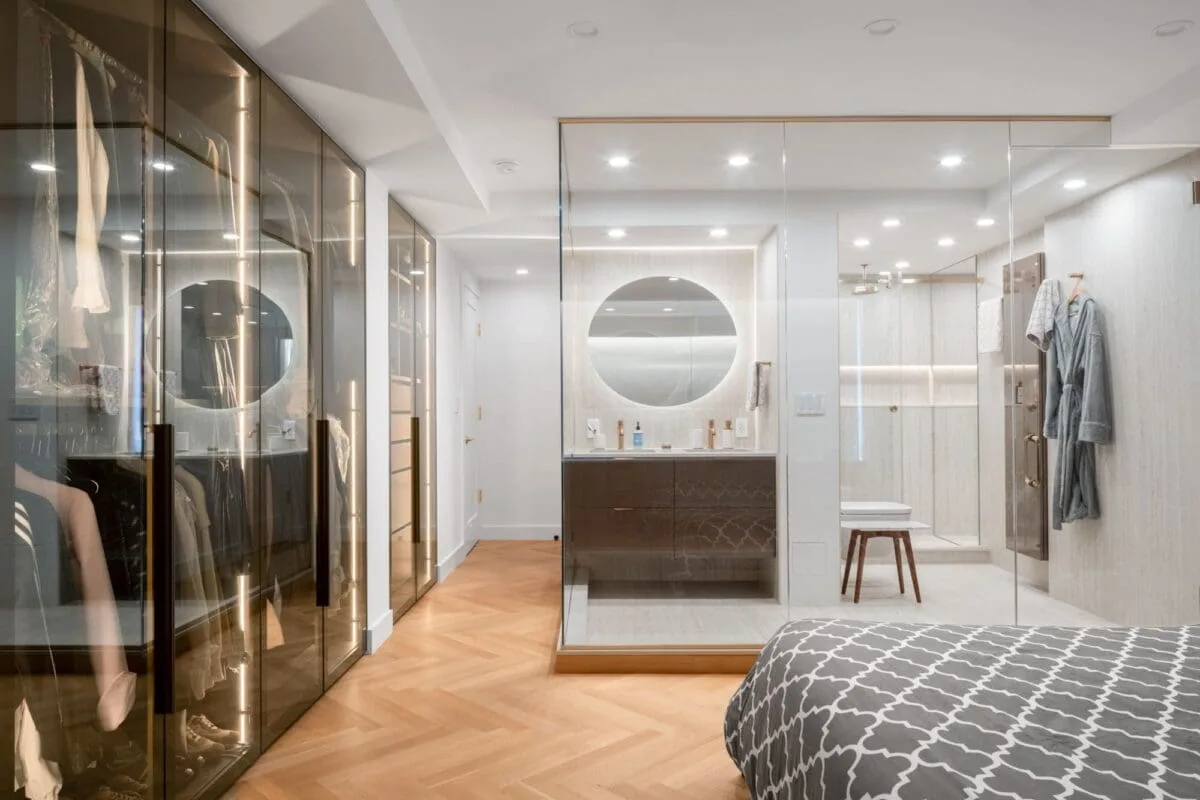
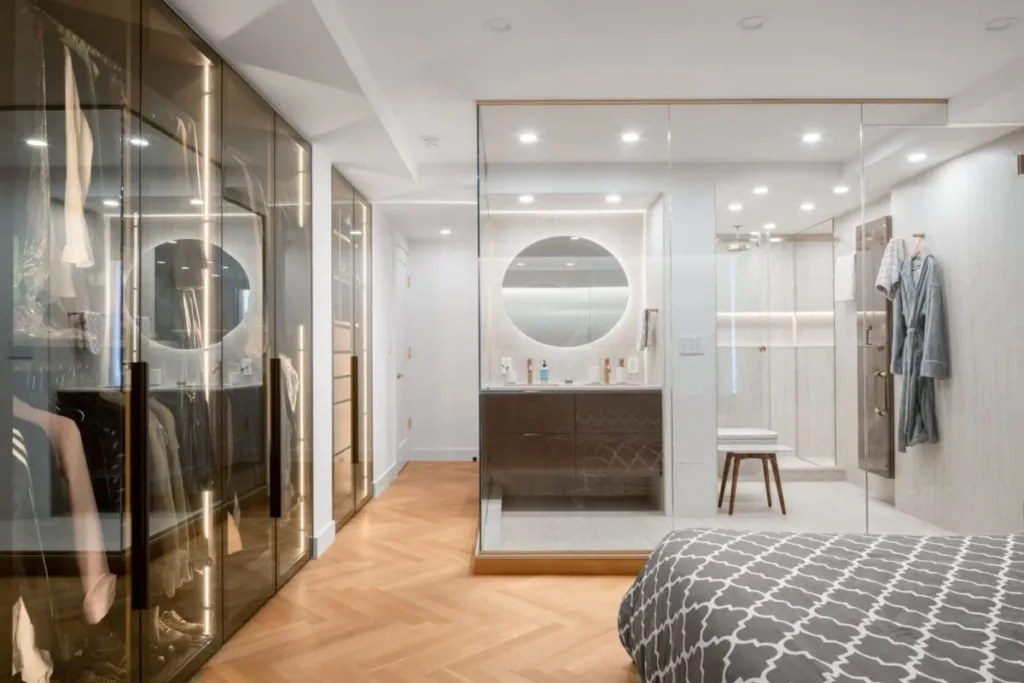
With several bathrooms in one project, decide early what each one is for. A primary bathroom, a family bathroom and a powder room can share a material palette while each gets a different layout, fixture level and budget. Planning them together also makes it easier to avoid common bathroom layout mistakes before construction starts.
NYKB Upper East Side Home Renovation:
In a three-bathroom renovation on the Upper East Side, each room was planned for a different purpose. The primary bathroom has Gessi warm brushed bronze fixtures, a ceiling-mounted rain shower and integrated LED mirror lighting. In the second bathroom, a bathtub was replaced with a shower, and the powder room was redesigned with a wall-hung vanity and a pocket door to make better use of the space. Behind the finishes, the work included a Laticrete 9235 waterproofing system, modified hot and cold water, waste and vent lines, and sound and vibration isolation under the floors to meet the building’s requirements.
Living and dining areas
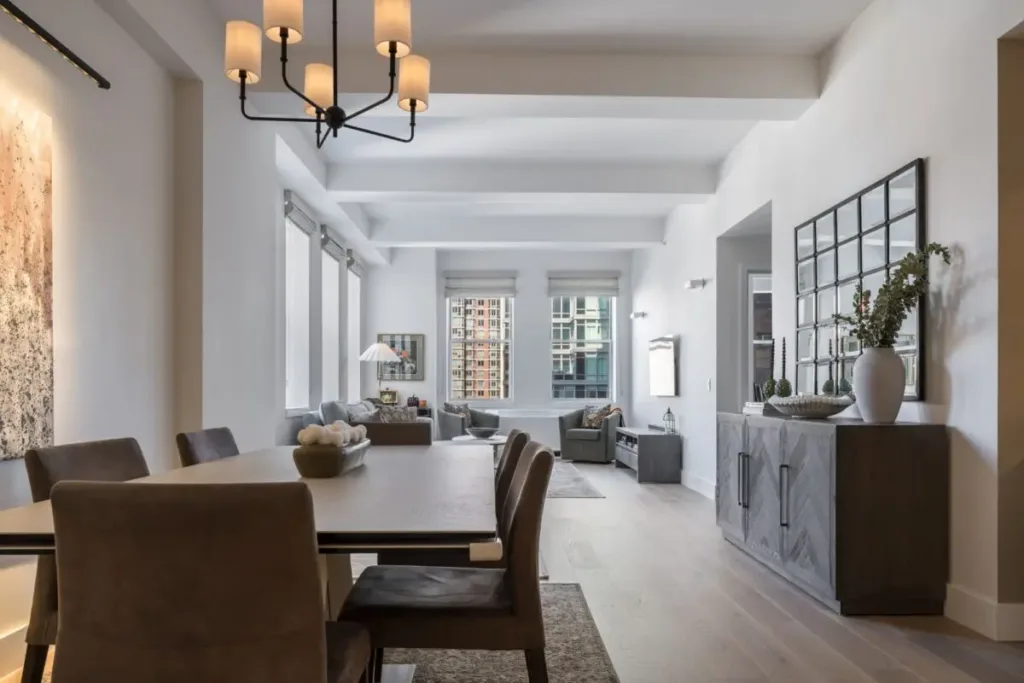
These rooms often connect everything else. In an open plan, consistent flooring and lighting tie the space together, while furniture, rugs and pendant lights mark out separate zones. In a home with separate rooms, repeat one or two elements, such as a wood tone or a metal finish, so the rooms feel related without looking identical.
Bedrooms and storage
Storage is easiest to solve when it is part of the plan rather than added at the end. Custom storage solutions such as built-in wardrobes, shelving and cabinetry can use alcoves, corners and the space above doors that freestanding furniture leaves empty, and custom closets can be designed around a room’s exact dimensions.
Step 4: Choose a Palette for the Whole Home
Pick a small set of materials once, for every room, instead of matching new finishes to old ones later. That is what makes a renovated home feel consistent.
Start with a small palette:
- One main flooring material for living areas and bedrooms, with planned transitions to tile in kitchens and bathrooms.
- One or two cabinetry finishes that repeat across the kitchen, bathrooms and built-ins.
- One metal finish for hardware and fixtures, or two used with a clear rule.
- A neutral wall color, with accent colors used in a few places.
Kitchen flooring needs extra thought, because it has to handle water and wear while still working with the floors in the rooms next to it. In apartment buildings, check the building’s flooring and underlayment rules before you choose materials. Many co-ops and condos have soundproofing requirements that affect which floors you can install.
Lighting belongs in this plan too. Decide room by room where you need general, task and accent lighting, and where dimmers or separate controls will help, before walls are closed.
Step 5: Plan Around Your Building Type
Your building type sets the limits of the plan: what you can move, which approvals you need and when work can happen. It shapes the design as much as your wish list does.
Prewar apartments
Prewar homes often have high ceilings, original moldings and hardwood floors worth keeping. A good plan decides early which original details to restore and where new work can go. Older buildings can also hide outdated plumbing and wiring, so expect the scope to be confirmed once walls are opened. Whether the home needs a gut renovation or a lighter update often depends on what you find.
Co-ops and condos
Most co-op and condo buildings require approval before work starts, and their rules can affect your layout, materials and schedule, including permitted work hours and where wet rooms can go. Read your building’s alteration agreement early, because it sets out the building’s rules for the work.
“As part of the price they also manage the information that needs to go to a coop board for approval, the communication with the building as well as setting up the necessary insurance and trade functions.” — Joe E., NYKB client (read the review)
Townhouses and brownstones
A townhouse renovation spans several floors, so the plan has to consider how the levels connect, how light moves through the house and which floor each part of daily life belongs on. Structural work, facades and landmark rules can also come into play.
Approvals and codes
Depending on the work, you may need approval from your building, the NYC Department of Buildings (DOB), or both. Building approval and city approval are separate, so a project can need board sign-off even when part of the work needs no DOB filing. As a general guide:
Type of work | Building approval (co-op or condo) | NYC DOB filing |
Cosmetic: paint, new finishes, cabinets in the same place | Usually needed in co-ops and condos | Usually not needed |
Replacing plumbing fixtures in the same location | Usually needed | Depends on the scope; licensed plumber required |
Moving plumbing, gas or electrical lines | Needed | Usually needed, filed by licensed professionals |
Removing or moving walls | Needed | Often needed; required for structural work |
Requirements vary by building and by project, so treat this as a starting point, not a ruling. New York City’s Existing Building Code takes effect on July 17, 2027, and will govern alterations to existing buildings from then on. Have the requirements for your project confirmed by licensed professionals before work begins.
Planning a Full-Home Renovation With NYKB
New York Kitchen & Bath (NYKB) is a design-build firm, so the people who design your home also supply the materials and build it. That makes it easier to plan the whole apartment as one project: the layout, the materials and the construction are worked out together, and pricing is known while the design develops. Our in-house expeditor handles communication with your building management to get the renovation approved, and all labor is backed by a 10-year warranty.
You can see materials in person at our Flatiron showroom at 8 West 25th Street. Our renovation process takes each project from the first meeting to the final walkthrough.
Frequently Asked Questions
Should I renovate the whole apartment at once or in stages?
Renovating at once lets related work, such as plumbing, electrical and flooring, be done together, and usually gives a more consistent result. If you need to work in stages, plan the whole home first anyway, so each stage fits the final design.
What should I decide first in a full-home renovation?
The layout. Room positions, openings and the location of kitchens and bathrooms are the hardest things to change later, and they affect almost every other decision.
How do I keep a consistent look across different rooms?
Choose a small palette of flooring, cabinetry finishes, metals and colors for the whole home, then vary how they are used from room to room. Repetition creates continuity without making every room look the same.
Which decisions can wait until later?
Furniture, rugs, artwork and most decorative lighting can be chosen once the spaces are built. Anything inside the walls, and any custom item with a long lead time, should be decided early.
Can I change the layout of my apartment?
Often, yes, but it depends on the structure, your building’s rules and code requirements. Kitchens and bathrooms are the most restricted, because of plumbing and building rules about where wet rooms can go. Have existing conditions assessed before the plan is final.
Plan Your Manhattan Home Renovation
A full-home renovation works best when the whole apartment is planned as one design: layout first, then systems, then materials, with every room considered alongside its neighbors. To talk through your plans, book a free consultation or visit our showroom.